Showing posts with label C-George and Basic Shapes. Show all posts

Dramatic Birthday Card


I know this is probably the oddest, least festive birthday card ever.... BUT.... My future daughter-in-law is a theater teacher and I am hopeful that this birthday card will appeal to the artsy, theatrical side of her personality.

I used Graphic45 papers on this card.  There are actually two lines of Graphic 45 represented here, but as both are black, white and tan, I felt that they worked well together.

I used Cricut Design Studio with George and Basic Shapes and Base Camp to create this card.  The Happy Birthday tag was created with Base Camp and stamped with a Stampin' Up stamp.  Otherwise, every other element on the card was created with geometric shapes in George.   


The theater comedy and tragedy masks are oval shapes from George with a moon shape cut out of the top.  I used a pen and craft knife to draw and cut the eyes and mouth shapes. I cut the mask bottoms in the mime print cardstock. I cut one mask in the white and black print cardstock, which I cut in half and fashioned the facial features for the masks.

I added a wide black ribbon with a bow around the card and then I added a smaller black print ribbon to attach the tag.  I like the tiny safety pin which attaches the tag to the bow.

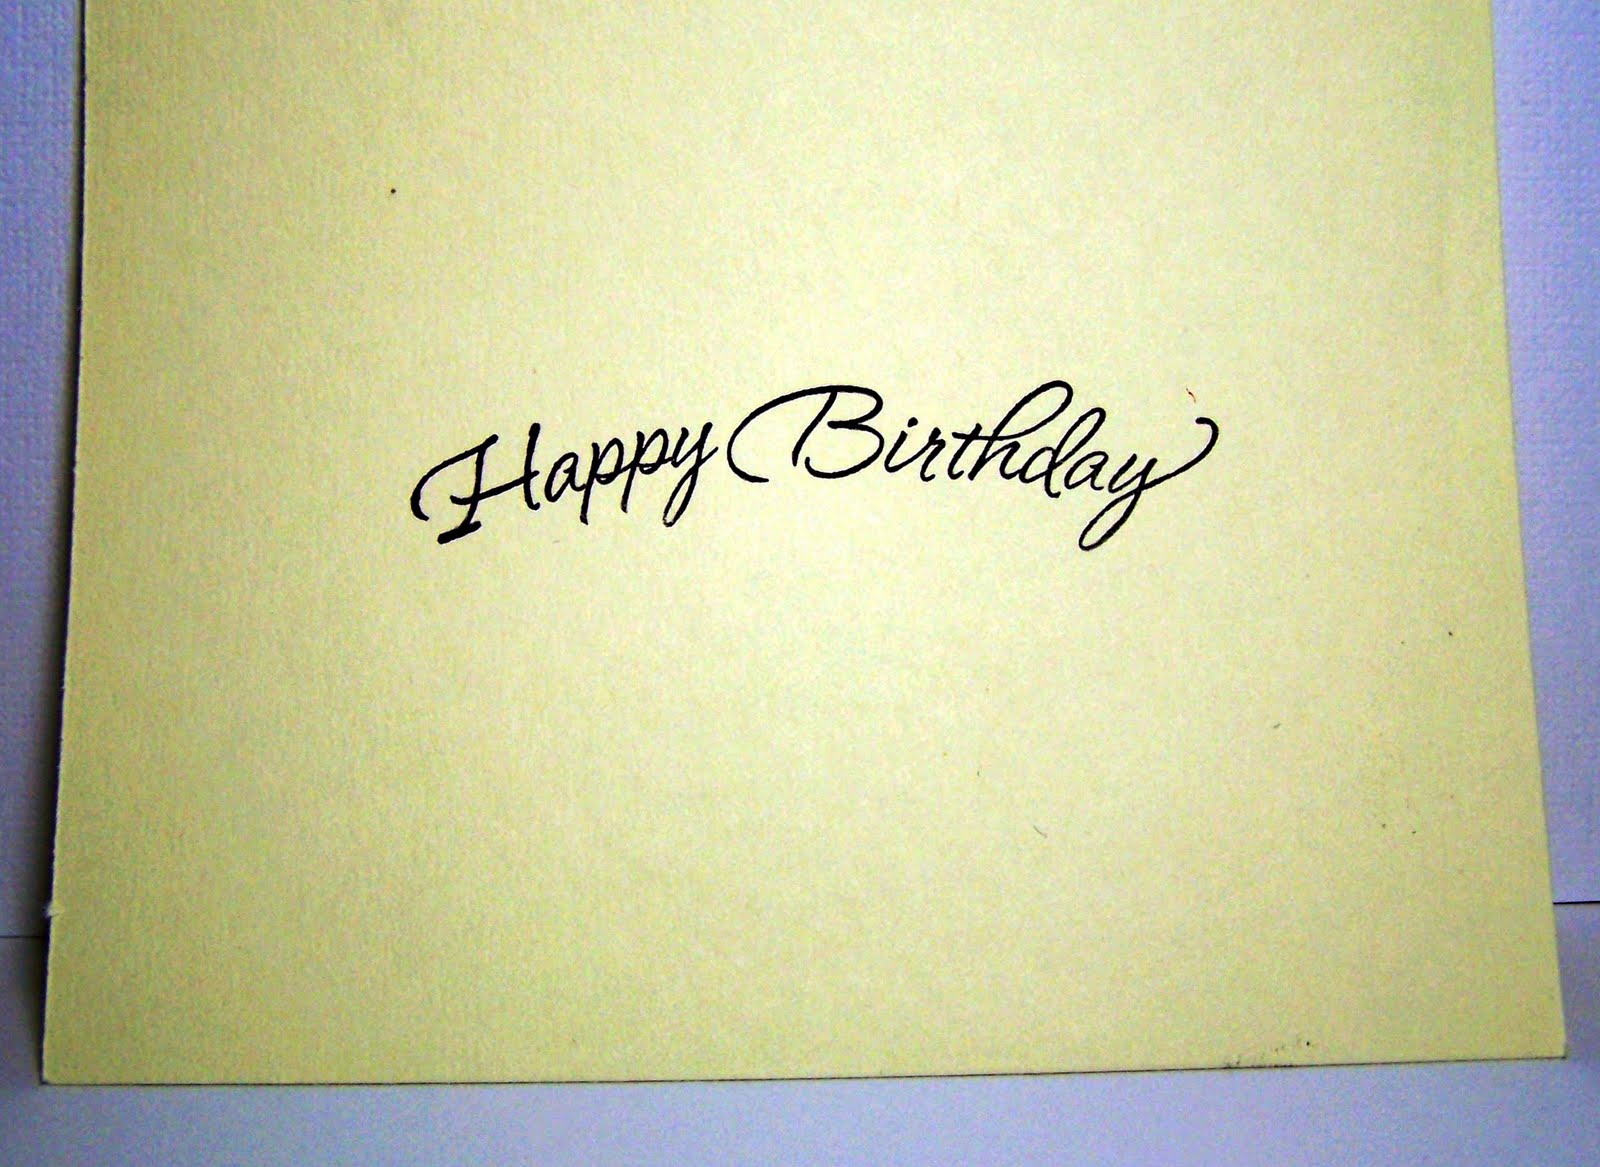
Inside the card I used black ink and a generic Happy Birthday stamp I picked up at Hobby Lobby.   And below you can get one more view of the bottom front of the card.

Thanks for stopping by today.  It was nasty hot here today and I am sooo looking forward to the end of this summer and some cooler weather.  Ironically we had one of our coldest winters ever last winter and now this nasty-hot summer.  What can we say?  Thank you, La Nina. 

Pyramid Party Favor Boxes For Everyday Cricut


Happy Saturday everyone. As most of you know, I usually have a guest spot at Everyday Cricut on the third Saturday of the month. This month the schedule did not work out correctly so I opted for the fifth Saturday!

As you all know, half of my mind is constantly focused on weddings these days – between my friend Kathy’s son’s wedding, my friend Beth’s daughter’s wedding and of course, my older son’s wedding next year I seem to be constantly having wedding thoughts. This week’s project is favor box that would be great for a party or, yes, you guessed it – a wedding!

For all of the details on how to create these treat boxes for yourself, drop by Everyday Cricut. It is Melanie’s, Joy’s, and Everyday Cricut’s anniversary so be sure to check out the FABULOUS anniversary giveaways while you are there!!


Bridal Shower Card with Graphic45 and Cricut


A few years ago when so many of us began sharing our Cricut Design Studio cut files someone shared a card cut which she called “Anus Lace Edge Card”.  I adore this cut file and will get into more detail momentarily, but first I wanted to apologize – I have no idea who created the original cut file.  At first I thought perhaps it was Jen C., but her cut files usually contain her name.  If you happen to know who created this fabulous cut file PLEASE let me know so that I can thank her again.

Okay, back to today’s card. My friend Beth is preparing for a wedding in her family – her daughter Libby is getting married in a couple of months. I have been invited to a bridal shower for Libby this Saturday and SO unlike me, I have already purchased the gift, done the assigned homework (share a recipe) and now I have created the card!  It is quite unlike me to be this prepared!


I have had this sheet of Graphic45 bridal paper for sometime, but just recently realized that it is PERFECT for a bridal shower card!  With this cardstock in mind, I began looking for the perfect card design to use with this Graphic45 print.  This Anus Lace Card was Perfect base on which to build the Graphic45 card! 

I cut the base card on lightly textured vanilla colored cardstock.  The card front has slits cut for ribbon to run though the card, but I chose to cover that with my base layer of Graphic45.  I cut two rectangular images from the cardstock and using pop dots, I affixed the rectanglular images to the front of the card, building in layers.


I embellished the card with fabulous rose print flower trim.  I trimmed one rose from the strip and glued it to the lower left corner, then I trimmed a three rose section and glued it to the top image layer.  I added gems to the center of the flowers, as well as assorted corners on the Graphic45 cardstock.


The final touchs to the card include the ribbon and knotted "bow" to the middle top layer.  I used an Anna Griffin stamp to create the Best Wishes tag.  A pop dot was placed under the left side of the tag while the right side was pinned to the ribbon.  I just love those tiny pins!!


Here is one last peek at the card - which you click to enlarge.  I hope Libby likes her bridal shower card, I think it is fun and unusual!!!

Greetings from the Seashore


Happy July 4th - American Independence Day!  And, a bit late, happy Canada day to our neighbors to the north!  I am back with another Bitten by the Bug 2 weekly challenge.  Our design team leader, Heather, chose the cut of the week, the STARFISH from the Life's a Beach cartridge. 

Before I discuss today's BBTB2 layout I want to share my "vacation" week with you.  As I previously shared, Doug, Ian and I were planning a few days in Chattanooga to visit with Doug's family.  His sister  and brother-in-law were in from NM and we were excited to see them.  Well, the day before we planned to leave I woke up early in the morning ill.  I had a yucky tummy, headache, fever, body aches, etc.  At first I thought that I had one of those 24 hour viral deals that we have all had.  But no.... My virus turned out to be a three day ordeal...  In the meantime I had sent Doug and Ian on their way, promising to go the doctor is I did not feel better by the third day.  Thankfully the afternoon of the third day I realized that I was on the road to wellness!

I missed seeing everyone, and as heavenly as being home alone can be, this was not one of those times.  I was bored and was missing my family!  So I had a bit of pity party and then I got over it!!  Oh, and I did read three books last week so that was good!


As I stated above, today's BBTB2  challenge cut is the starfish from Life's a Beach.  I decided to create a girlie beach layout because I have TONS of photos from Bethany's years at the College of Charleston - I think she spent a lot of time on the beach!!!  I normally use blues and sand colors for the beach, but this time I went with topical pinks, salmon, etc.


I used five cartridges to create this layout - Life's a Beach for the sea life, Kate's ABC's for the title cut - Seashore, Billionaire for the cursive phrase, George for the rectangles and French Manor for the stamp shaped cuts.

I used Cricut Design Studio to design my layered title and multi-layered bottom edge border. 

Please stop by Bitten by the Bug 2 and check out all of the great Starfish projects.  Also, please consider playing along with us this week - you could be our weekly winner!!!


I have a three day project to share with you Tuesday, Wednesday and Thursday - a Patriotic picnic enhanced with Cricut!!!

Gnome Birthday Fun with BBTB2


Happy Monday!  Welcome to another Bitten by the Bug 2 weekly challenge!  This week's challenge cut was selected by my design team sister, the lovely Theresa Kelly, and  is any Gnome from the Freshly Picked cartridge.  I decided to have a bit of birthday fun with the Gnomes - creating this Gnome Pyramid birthday card.  The design for this card was inspired (and by inspired I mean ripped-off) from my friend Donna Mundinger's FABULOUS Penguin Card, which can be found here at her blog and  here at Custom Crops with design studio cut file and complete instructions.  Donna is one of THE MOST AMAZING paper crafters E-V-E-R... and I am thrilled to be able to say I know her! 


This card features six Gnomes each dressed in his favorite summer party outfit!  And just as we women match our shoes and purses (in an ideal world!), the Gnomes have matching hats, belts and shoes.  The well dressed Gnome likes for his outfit to coordinate!  The Gnome faces were stamped in light brown ink with Peachy Keen stamps.  A cherry Copic marker was used to highlight their lips. Their beards were cut in white cardstock, then heat embossed with white with touches of grey embossing powder.  Their ensembles were finished with tiny pom-poms at the top of their hats.


I used three cartridges to cut this card, Freshly Picked, George and Basic Shapes, and Christmas Cheer.  The banner above was cut from Christmas Cheer, then stamped with a rubber stamp from Michaels. 
The photo below is a screen shot of the card top in Cricut Design Studio.  I welded the six Gnome shadows together in a pyramid shape, adding birthday gifts from Christmas cheer.  I cut this layer in red, affixed it to the base card, and built the card front on top of this layer.


Below is the inside of the card.  You can see the red base cut (above) is the upside down red layer in the photo below.  I attached the red layer to the open cut triangle top.


The base card was created using George and Basic Shapes.  I sized and welded to triangles together, then inserted a NON-welded triangle into the middle of the top layer.  This created the cut out so that the blue swirl print shows through the holes in the front of the card.


I used metallic cardstocks to cut the packages and the belt buckles.  I finished the card by using pop dots to attach Happy Birthday banner!
 

Thanks for stopping by today.  Be sure to head over to Bitten by the Bug 2 and check out all of the designer's awesome projects!  And, if you have time, please consider playing along with us this week!!

Make & Take Kits for Saturday's Girlie Get Together


I spent a big part of Thursday preparing Make and Take kits for my Girlfriend Get Together tomorrow.  I am having the scrappy girlfriends over for a girlie luncheon, a make and take, gossip and bonding.  All the elements of a perfect afternoon. 


I finished the demo of the make and take, but because the girls are also readers of my blog, I cannot share just yet.  I did photograph everything so you will not be left out.  I promise to take photos of the luncheon and get together too.

The kits were created using Lori's Garden, George and Basic Shapes, the Cricut Imagine, and the Cricut Craft Room.  I built a multi-page cut file in the CCR that created 4 x 6 double sided cardstock.  I set the file up so that I could flip the rectangles over and place them in the exact same spot to print the back sides. 
The make and takes have five double-sided pages for a total of ten pages.

I used my Yourstory to bind the make and take books.  Below is a photo of the book covers that we will be using for these projects.

Sneak Peeks - Cover

Sneak Peak - Page Ends


Sneak Peek - Die Cuts, ribbons and embellies kits